Steps To Starting Your Online Business eCommerce Store.Dropshipping.Digital Products.Cash on Delivery.
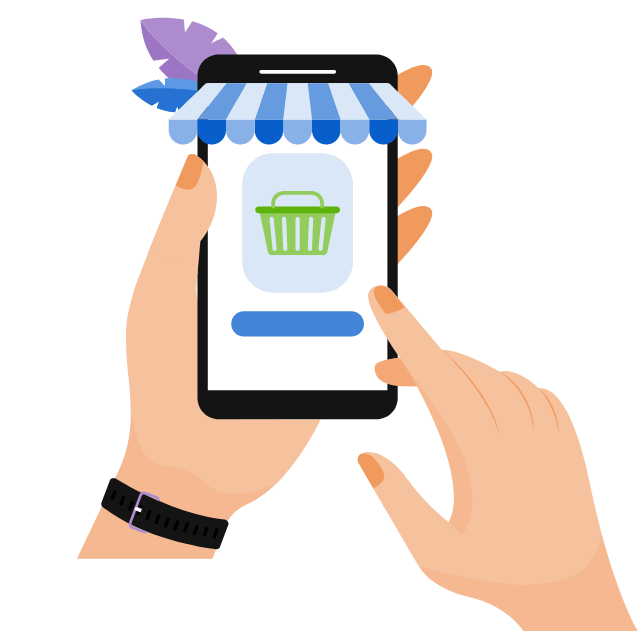
FatherShops is a modern e-commerce platform built for today’s entrepreneurs.
We’re here to simplify how online stores are launched, managed, and grown — all without the tech headaches. From curated dropshipping product (Digital/Physical) access to seamless store setup, FatherShops helps you build a business that’s fast, flexible, and future-ready.
Before you start your own online store, it’s important to understand how e-commerce really works.
Like any business, there are risks and rewards. Profit isn’t guaranteed — but with the right tools and mindset, your chances of success grow significantly.
Thanks to the way technology has evolved, launching an online business is more accessible than ever. Platforms like FatherShops help simplify the process, so you can focus on building, selling, and growing.
To get started, go to fathershops.com.
Browse through the available plans — both free and paid — and choose the one that fits your needs. After signing up, your store login details will be sent to the email you used during registration.
You must set the initial store settings such as language, region, currency and many other settings that will contribute to the success of your business in a distinctive way please check this link for more information's about Store Settings.
Next, choose a name for your store and create a logo — you can use tools like Canva or hire a designer from a freelance platform. Once you’ve finalized your name, head to domain.fathershops.com to purchase a matching domain.
After that, you can easily connect your domain to your store and go live.
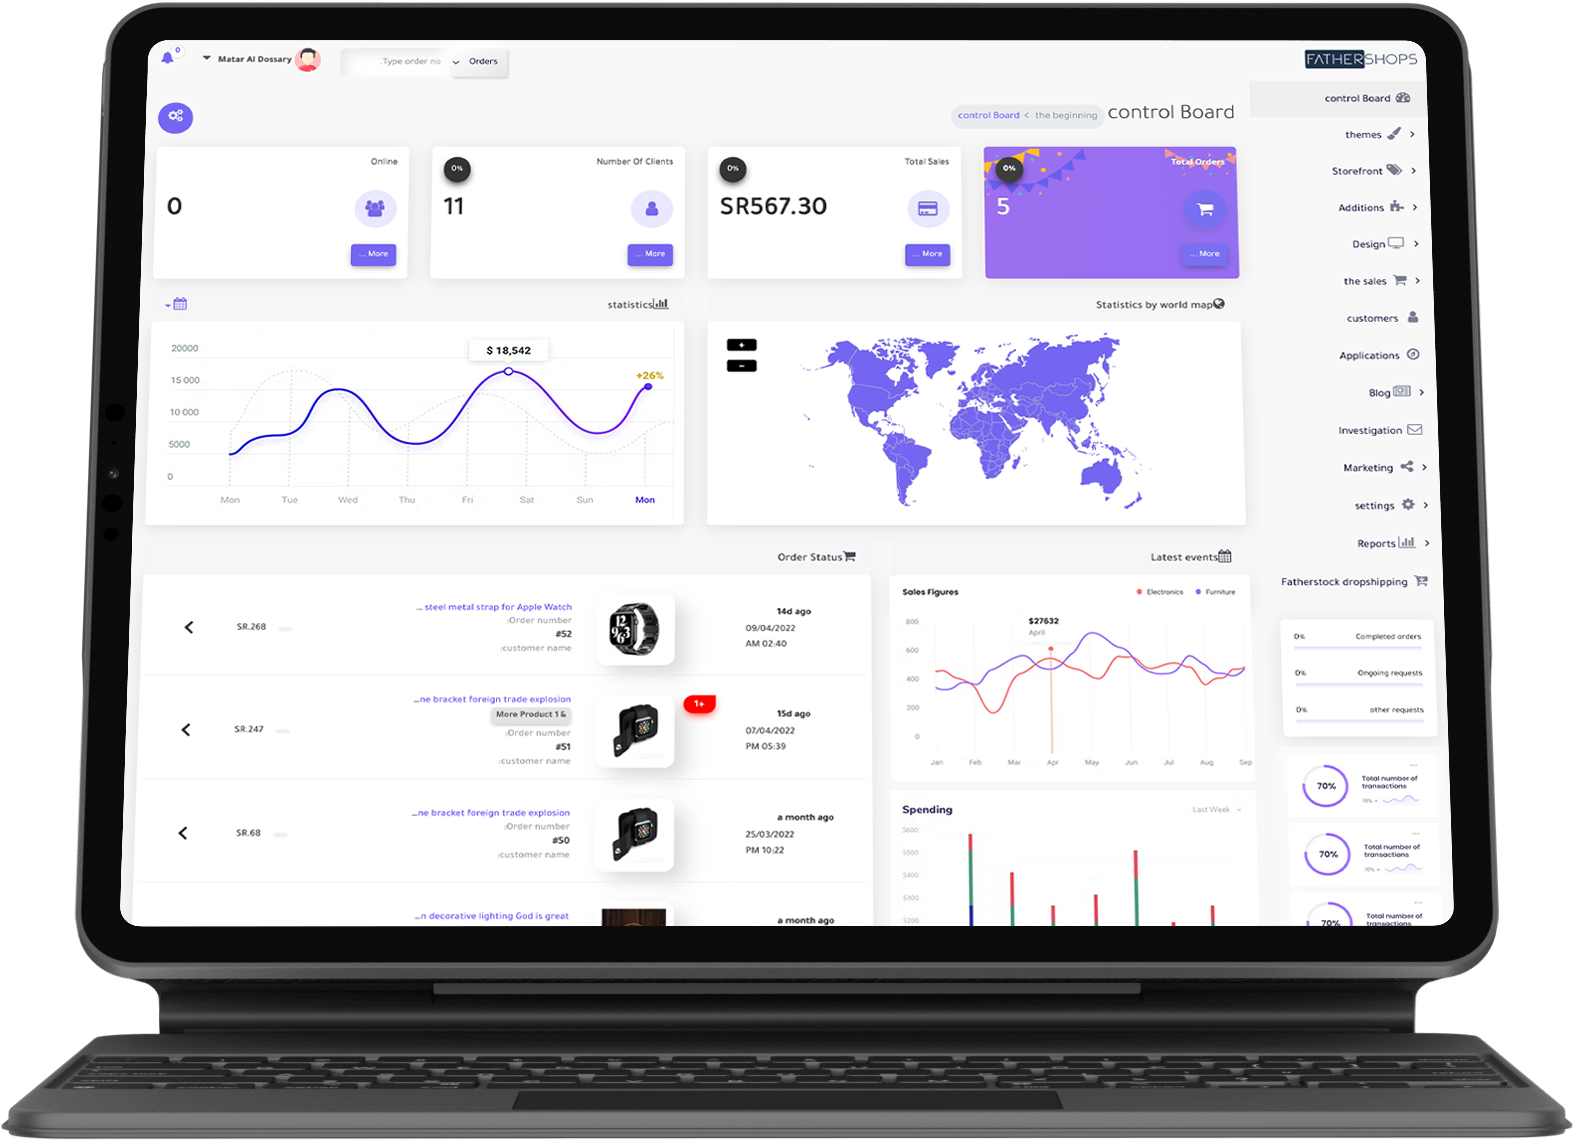
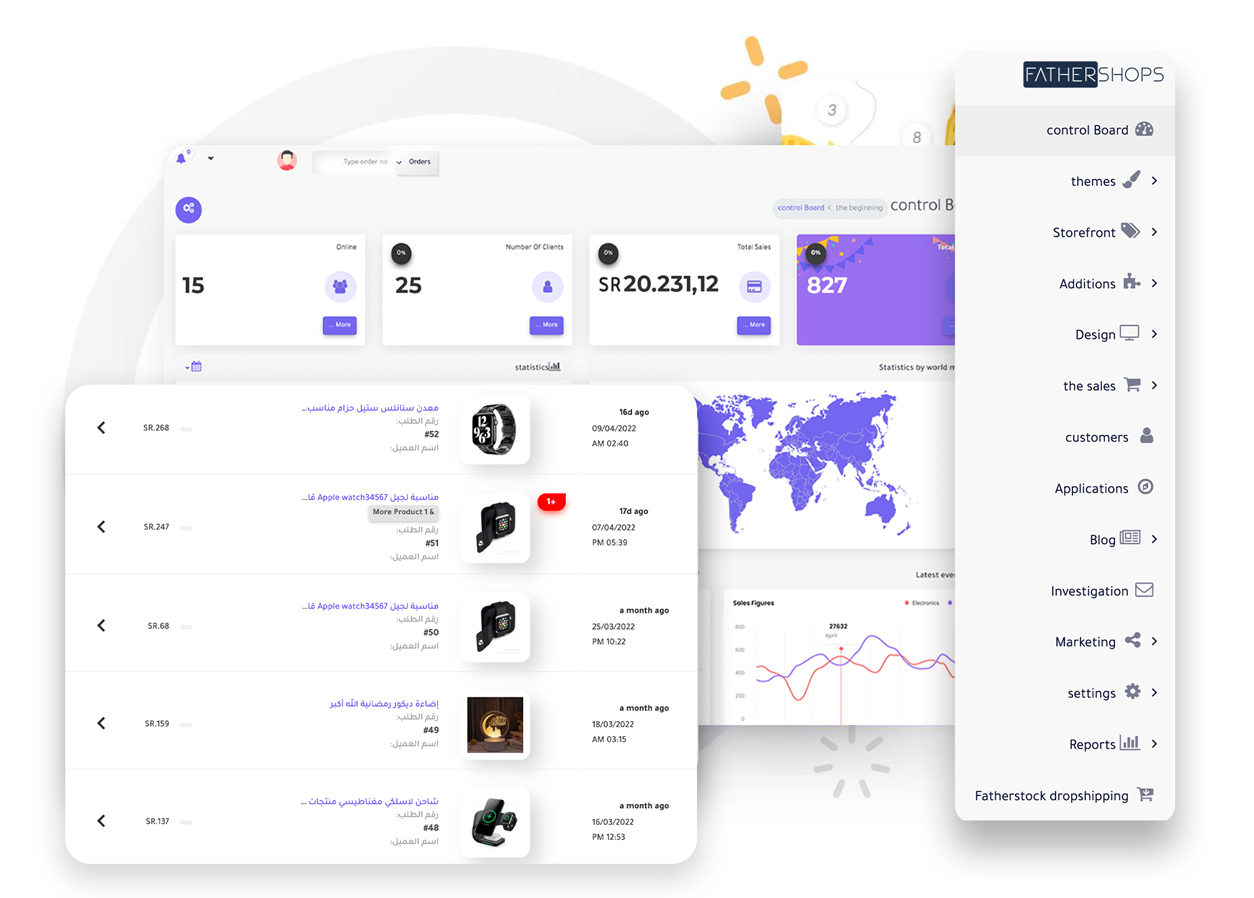
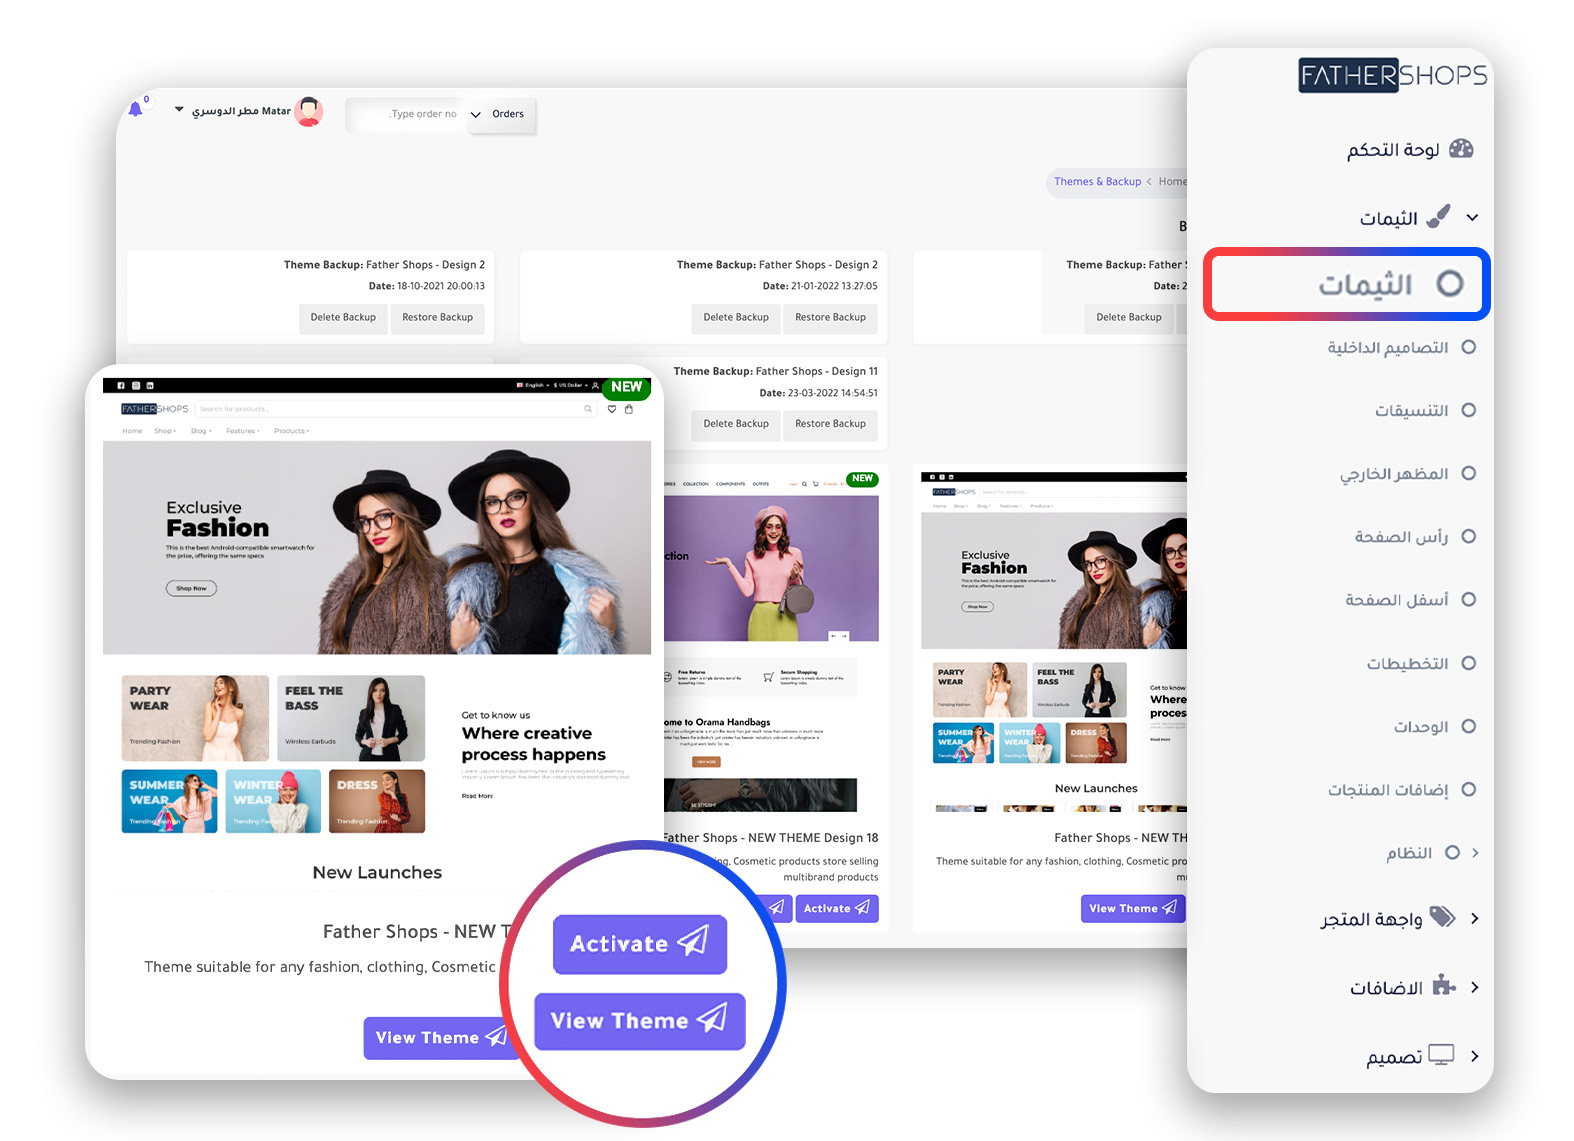
From your store dashboard, go to the Design section. You’ll find a range of free, ready-made themes to choose from. Preview any theme before activating it based on your product type.
Once activated, you can customize the design by uploading banners, meta images, and promotional slides to showcase your products and highlight key features.
Step 5: Writing the Store pages about, privacy, shipping etc.
Set up your store’s essential pages — including About Us, Terms & Conditions, Shipping Policy, and Privacy Policy.
You’ll find dedicated sections for each inside your FatherShops dashboard, ready for you to write or edit as needed.
If you’re using the dropshipping model, it’s important to follow best practices to choose winning products that sell consistently and help boost your income.
This is also the stage where you should enhance your store’s visual appeal — upload meta images, banners, and product highlight slides to create a clean and engaging storefront that converts.
If you're using dropshipping, just log into FatherStock from your dashboard. You’ll find a wide range of products you can import to your store with one click — then customize the details as needed.
If you’re selling your own products, you can manually add them through your store’s control panel, with full control over images, pricing, descriptions, and categories.
Don’t forget to update your store visuals — upload banners, meta images, and product sliders to make your storefront look professional and engaging.
You can activate multiple shipping methods in your store by partnering with local couriers or using FatherShipments. Just choose what works best for your setup.
If you're using the dropshipping model, there's no need to coordinate with shipping companies. Simply set your shipping rates — and we'll take care of delivering the products to your customers, hassle-free.
To start receiving payments, you’ll need to activate a payment method in your store. You can either connect with third-party providers or use FatherPayments — a fast and simple way to set up payments.
Just upload the required documents and get approved quickly
Step 10: Activate the necessary Apps for your Store
At this stage, it’s important to activate key apps that support your store’s growth — like live chat for customer service, ad platform pixels (Facebook, TikTok, Snapchat), and analytics tools such as Google services.
These integrations help you track performance, retarget visitors, and improve conversions.
If you are subscribed to one of the paid packages, you can benefit from technical support services by direct communication via live chat, using WhatsApp, or raising a ticket directly to the work team, and we will respond to you within a maximum period of 24-48 hours.
Starting a business without money might seem tricky, but we’ve got the insider tips you need. Share your details, and we’ll send them straight to your inbox!