
Whether you’re starting your first dropshipping store or launching your own product brand, FatherShops makes it simple, fast, and beginner-friendly. This guide walks you through everything — from picking a plan to getting your store live and ready for orders.
Step 1: Visit FatherShops and Explore Plans
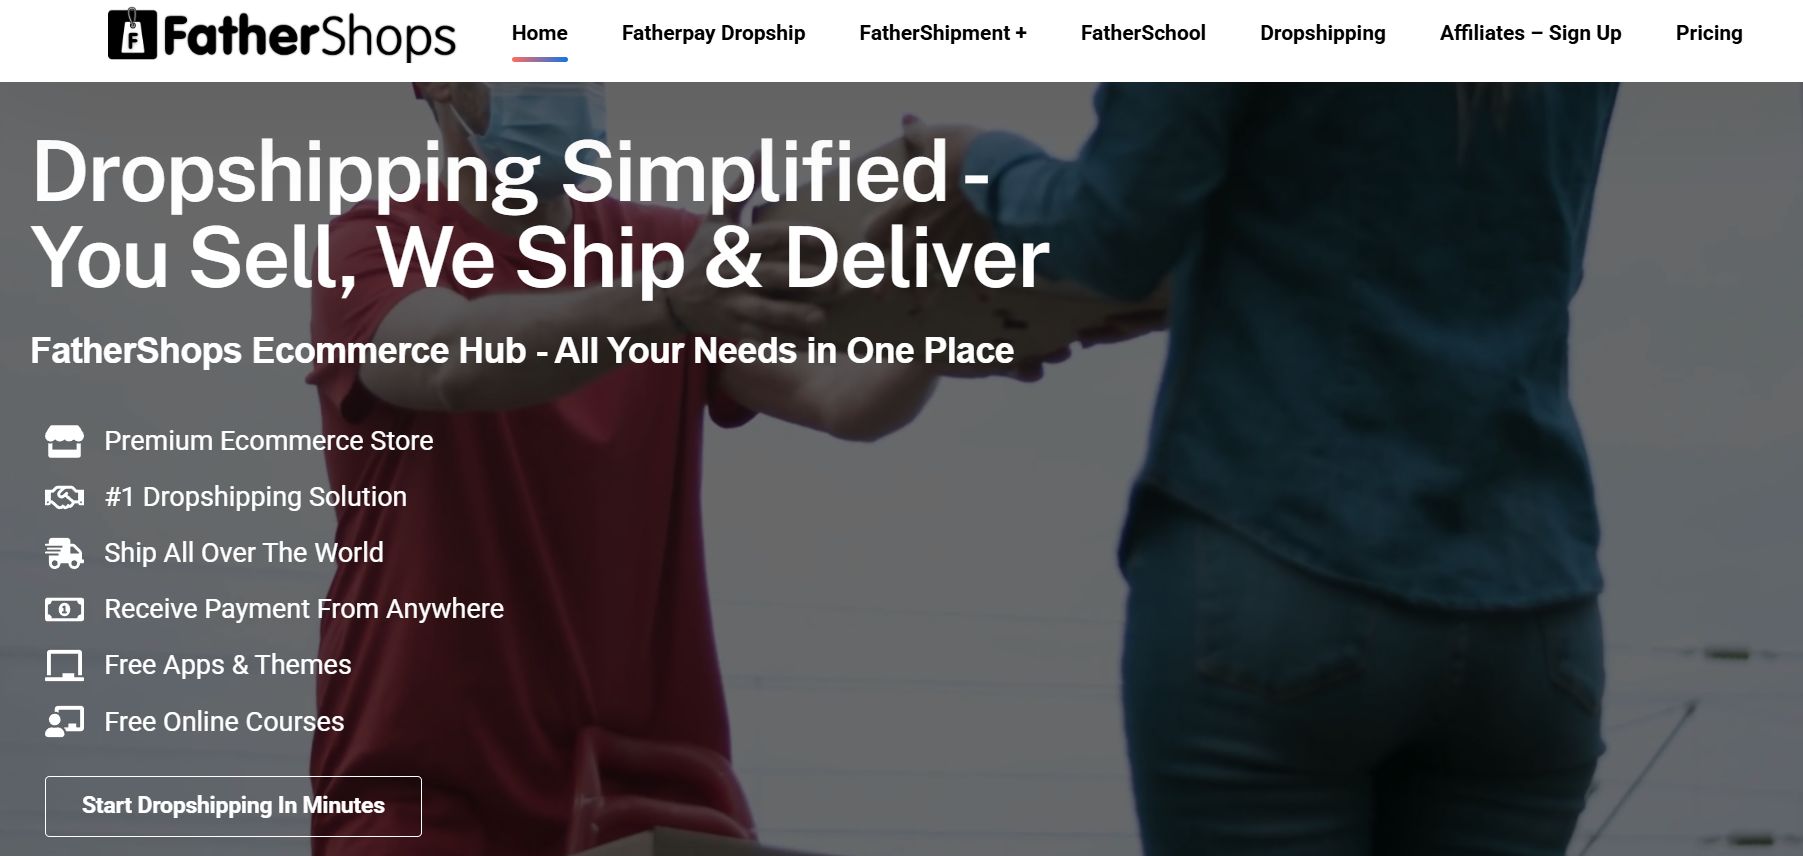
Head over to fathershops.com — this is your starting point.
You’ll see three core plans:
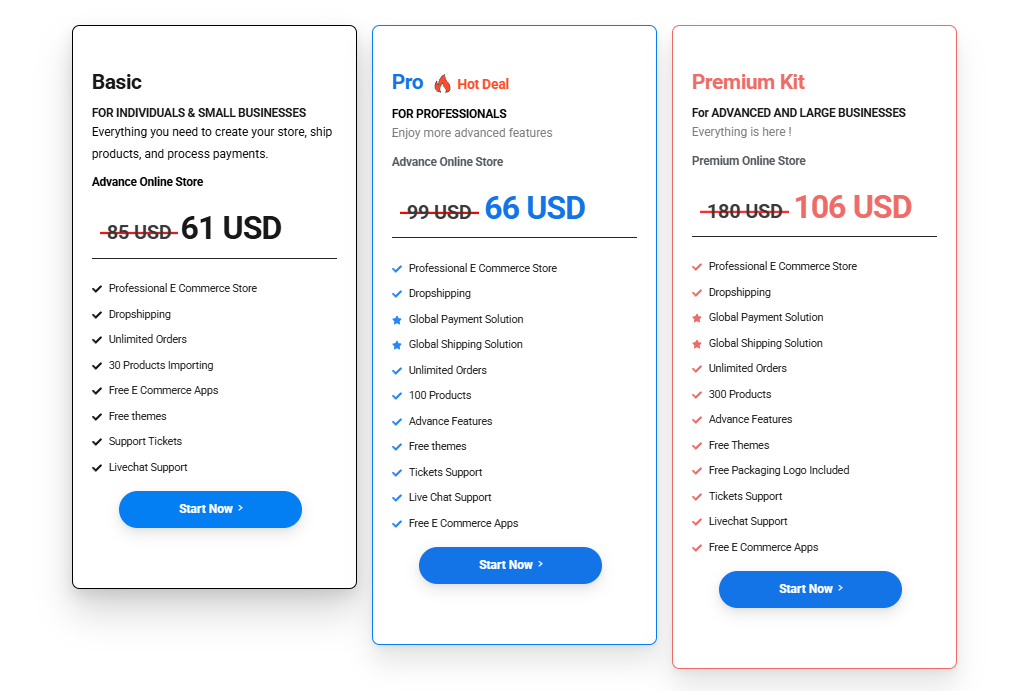
- Premium Kit: The all-in-one solution for entrepreneurs who want the full range of services, including a comprehensive online store and access to dropshipping services. This is the go-to plan if you’re looking for a comprehensive e-commerce setup.
- Pro Plan: Perfect for businesses that already have their products and just need an online store. This plan offers a straightforward, professional online storefront without the dropshipping services or digital products.
- Basic Plan: Ideal for those who want to explore dropshipping with limited specifications. It’s a great starting point if you’re testing the waters in the e-commerce world.
Step 2: Choose the Right Plan for Your Business
Here’s how to decide:
| Your Business Type | Recommended Plan |
|---|---|
| Want to start dropshipping from scratch | Premium Kit |
| Already have products and need a store | Pro Plan |
| Selling digital products or services only | Basic Plan |
Once you’ve selected the plan, click “Get Started” and proceed to checkout.
Step 3: Complete Signup and Checkout
- Fill in your name, email, and preferred store name
- Choose your plan
- Make the payment
You’ll receive a confirmation email with your store details within minutes.
Step 4: Access Your Store & Dashboard
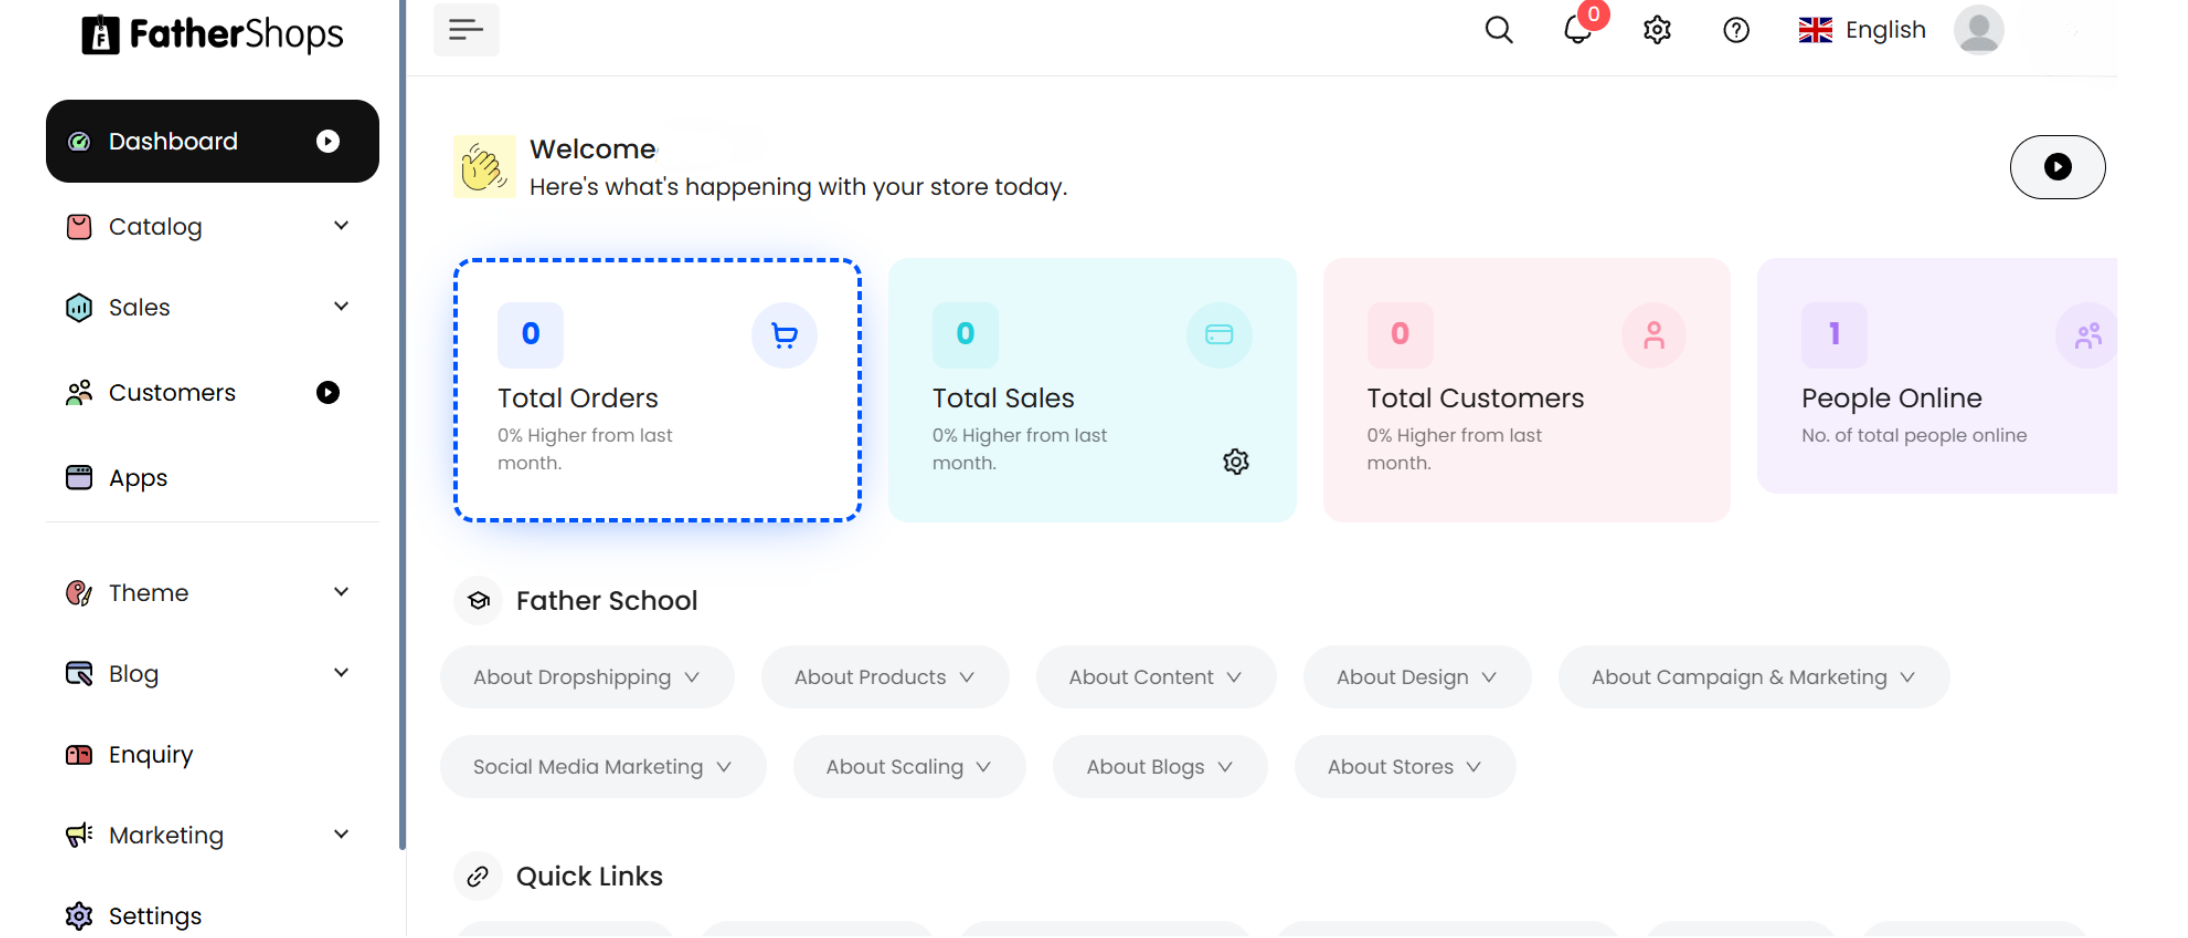
After payment, you’ll get:
- Welcome Email: With your store URL, login credentials, and support contact
- Dashboard Access: Where you can edit products, set branding, and manage orders
- Setup Guides & Tutorials: Step-by-step guide to customize your store’s design, pages, and settings
Step 5: Add Products or Services
Depending on your plan:
- Premium Kit: Import dropshipping products via our partner tools.
- Pro Plan: Add your own products manually or via bulk CSV upload.
- Basic Plan: Add digital files, booking links, or content offers.
FatherShops allows you to set prices, upload images, write descriptions, and manage inventory.
Step 6: Set Up Payments
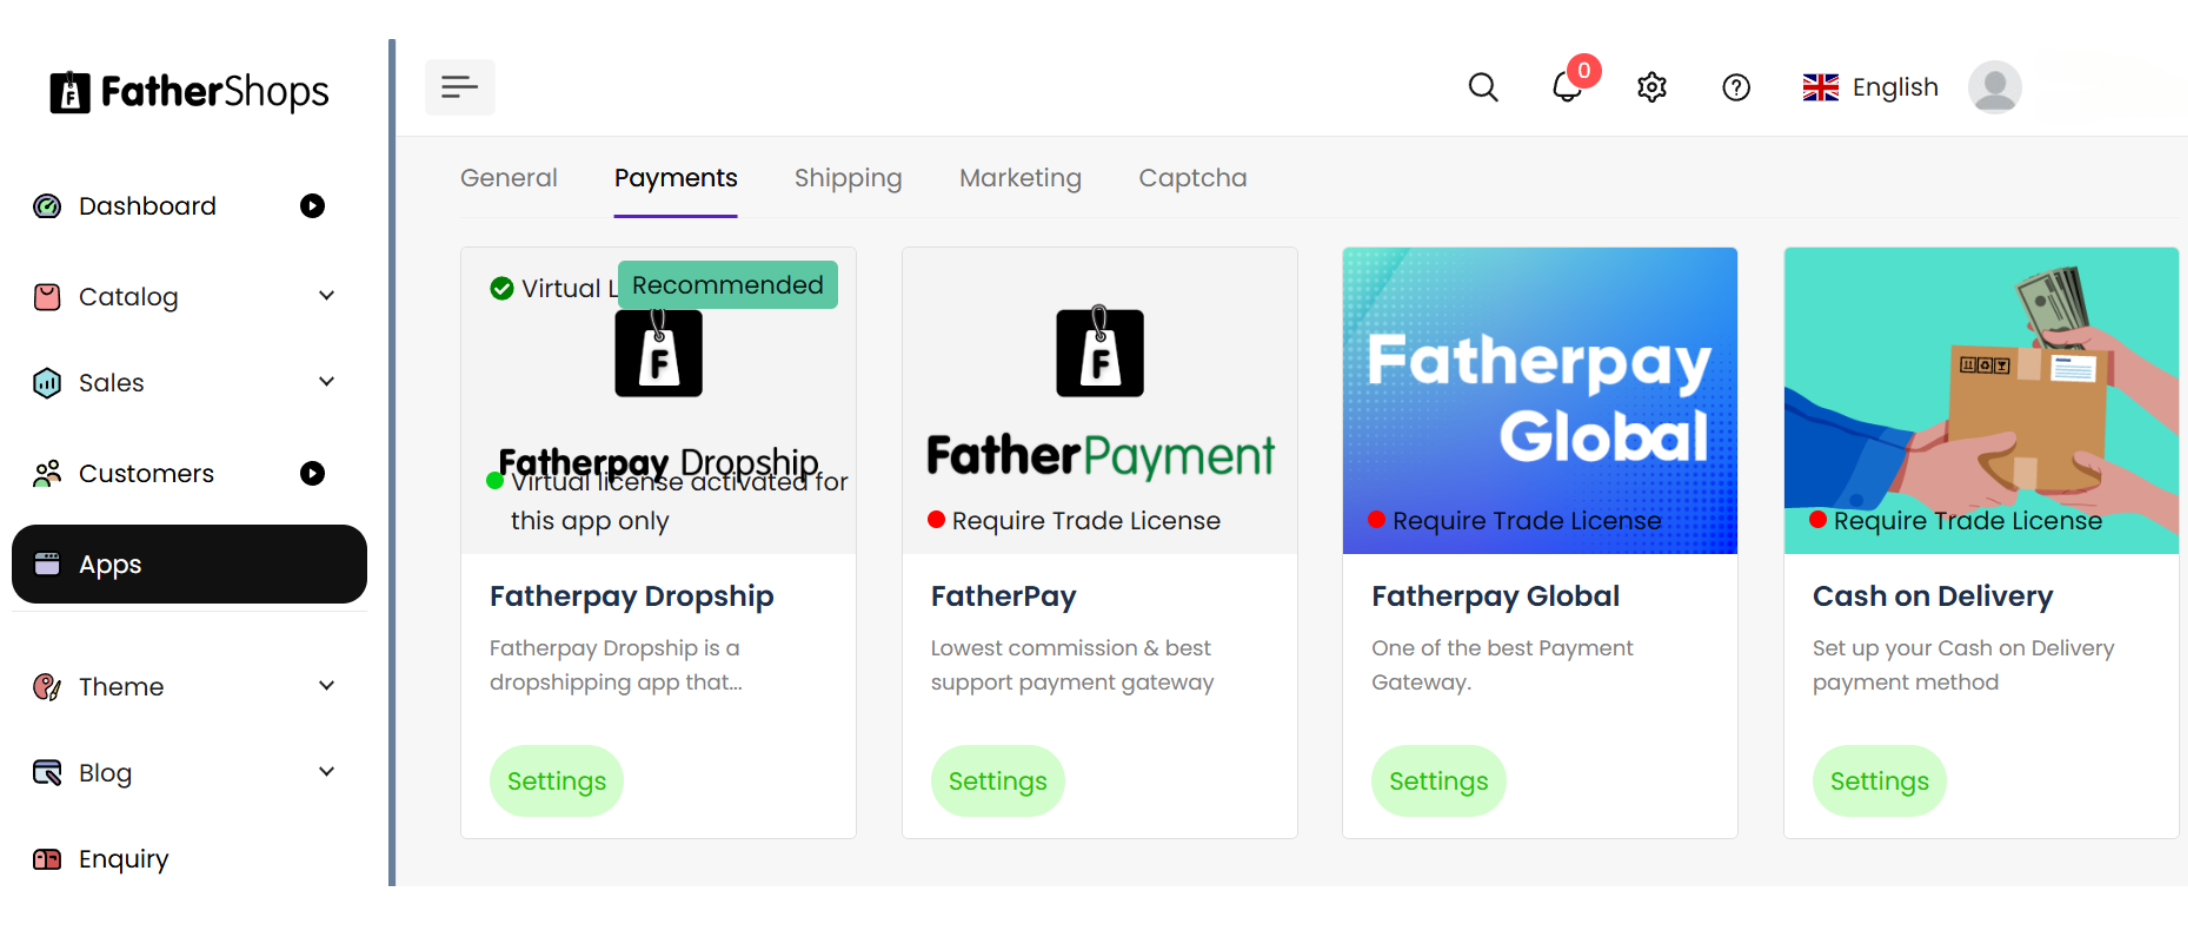
Go to Apps → Payment Options, and choose your preferred payment method:
- UPI
- FatherPay
- Stripe
- Stripe
Connect your account and test a dummy order to ensure everything works.
Step 7: Launch Your Store
Once everything’s set:
- Add your logo and favicon
- Write an About page and return policy
- Link your domain or use the free store link
- Click “Publish” and go live
Your store is now accessible to the world!
Step 8: Promote Your Store
Use these simple methods to bring in traffic:
- Share your store link on Instagram, WhatsApp, LinkedIn, or YouTube
- Create reels or short videos about your products
- Use free tools like Canva to design product ads
- Run basic ads (Meta or Google) with ₹500–₹1000 to test
Step 9: Manage Orders & Track Sales
From your dashboard, you can:
- Track orders, payments, and customer info
- Download invoices
- Get notified when you make a sale
- Access analytics like visitors, top products, and more
Step 10: Get Support When You Need It
Need help with setup, domain connection, or payment settings?
FatherShops offers:
- Email & chat support 24×7
- Tutorial videos
We’re here to make sure your store succeeds from day one.
With FatherShops, launching an ecommerce or dropshipping business doesn’t need to be complicated. You get:
- A custom-built store
- Product sourcing (if needed)
- Simple dashboard controls
- Fast fulfillment and automation
- A team that supports your growth
👉 Start your store today at Get Started — and build something that works while you sleep.