In the dynamic world of ecommerce, your product photography is the heartbeat of your online store. Stunning product images do more than showcase your items—they captivate, build trust, and turn casual browsers into loyal customers. Whether you’re a beginner using smartphone photography or a seasoned seller investing in professional gear, this comprehensive guide covers everything you need to create visuals that sell. From exploring types of ecommerce photography to setting up your ecommerce setup, mastering lighting, photo editing like a pro, and leveraging video photography and 360° photography, we’ve packed this guide with detailed, actionable tips. Let’s learn and transform your online store into a visual masterpiece that drives sales!
Table Of Content
- Why Ecommerce Photography Boosts Your Online Store Sales
- Types of Ecommerce Product Photography
- Choosing Equipment for Professional Product Photography
- Setting Up Your Ecommerce Setup for Product Photography
- Mastering Lighting for High-Quality Product Photos
- Creating Perfect Backgrounds for Product Photography
- Optimizing Camera Settings for Sharp Product Images
- Mastering Smartphone Photography for Ecommerce
- Budget-Friendly Photography DIY Product Photography Studios
- Advanced Photo Editing for Polished Ecommerce Images
- Visual Storytelling in Product Photography
- Product Photography Tips for Clothing, Jewelry, and More
- Using Video Photography and 360° Photography for Ecommerce
- Image Optimization of Product Images for Ecommerce Platforms
- Avoiding Common Product Photography Mistakes
- Scaling Your Ecommerce Photography for Growth
- Measuring the Impact of Product Photography on Sales
Why Ecommerce Photography Boosts Your Online Store Sales
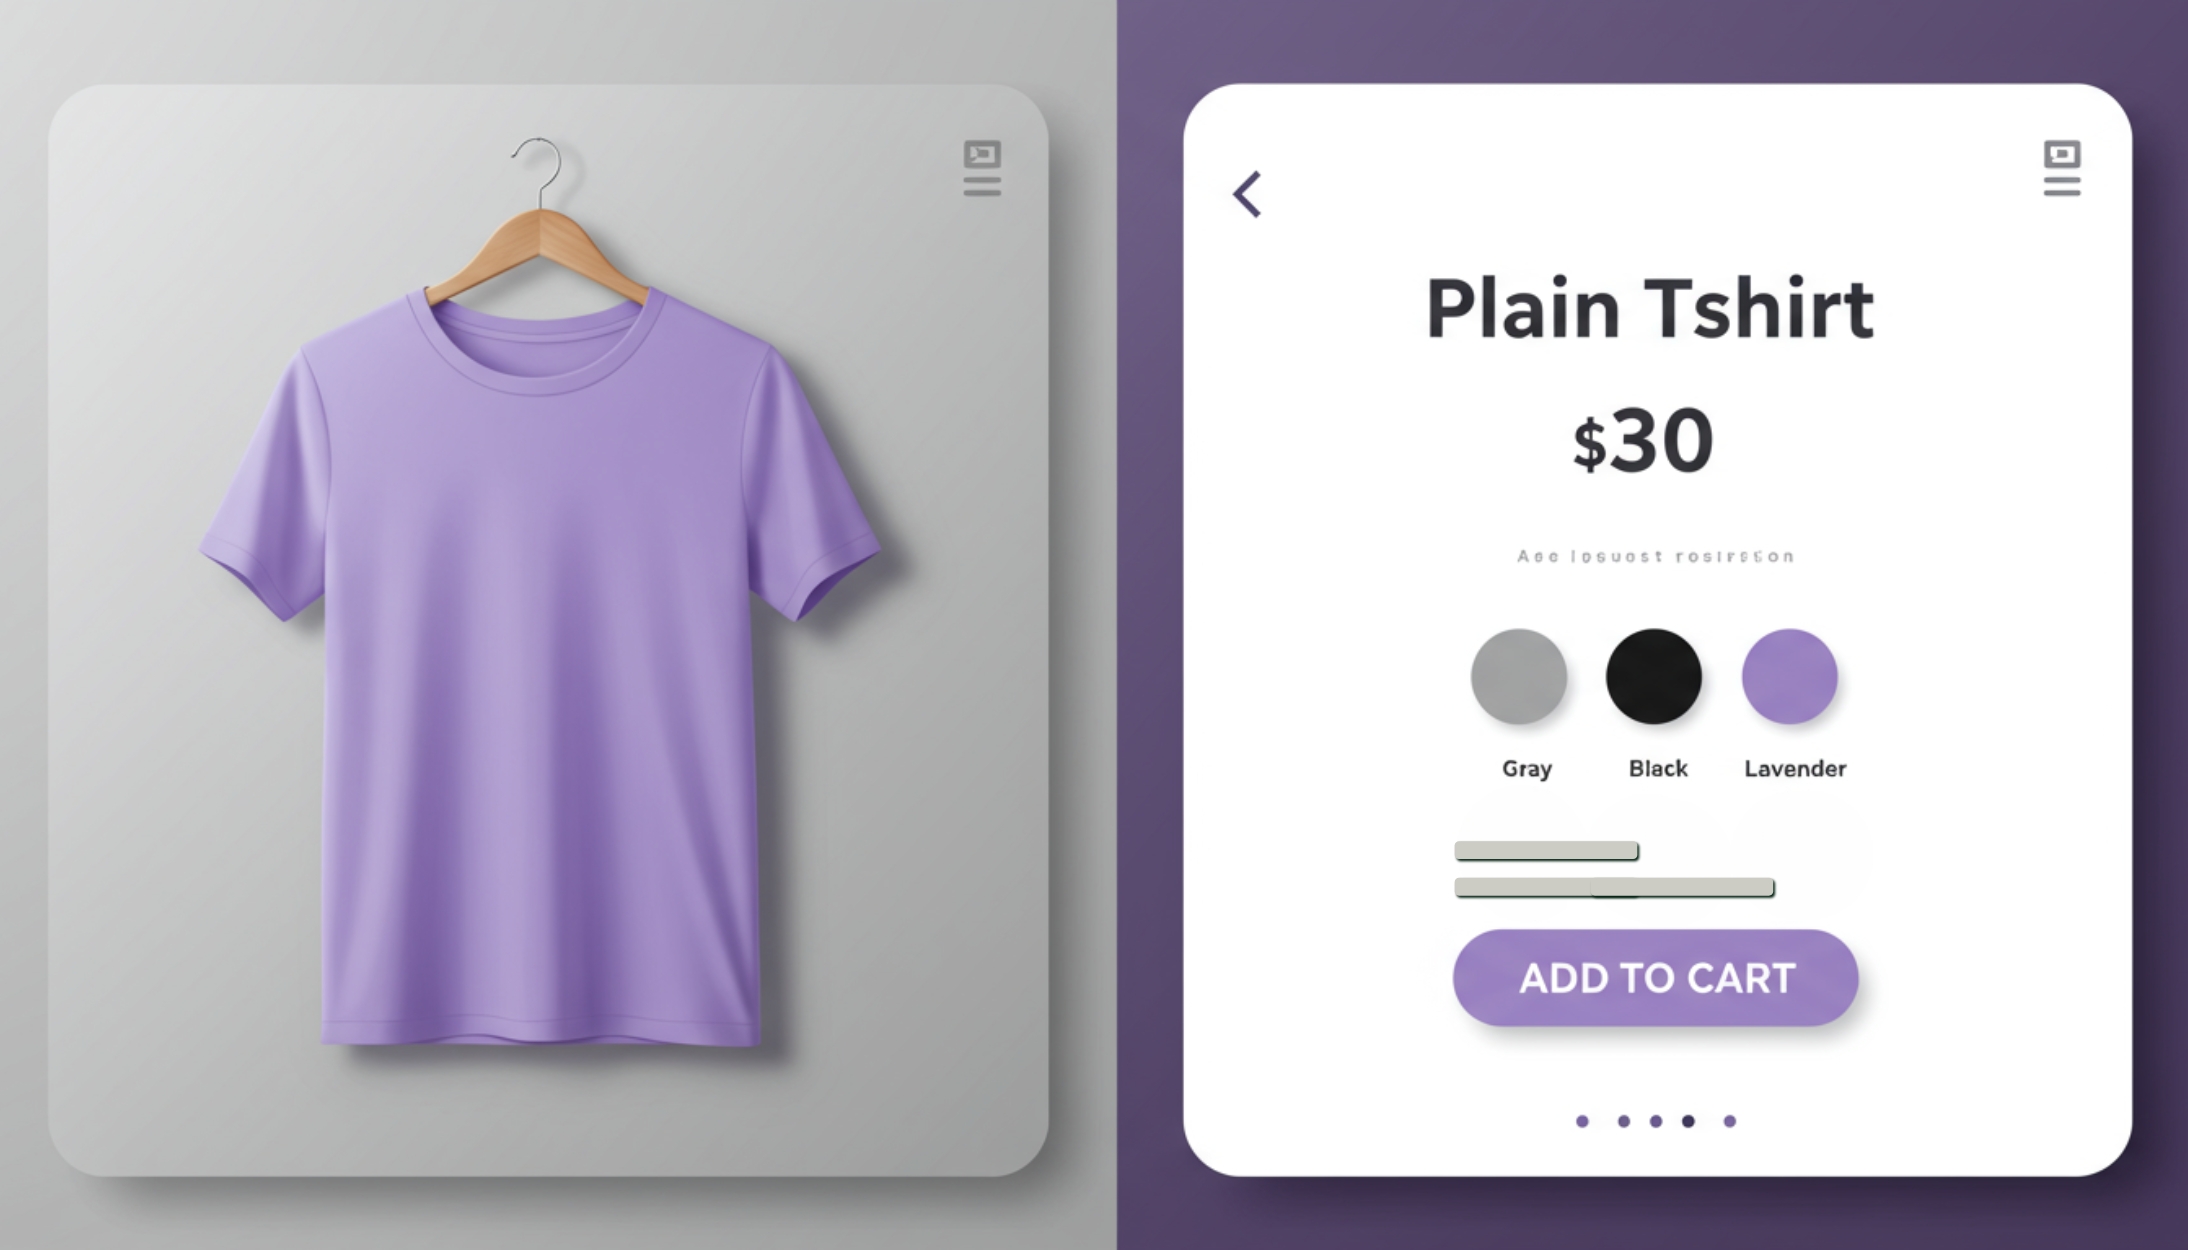
Your product images are the first impression customers have of your online store. High-quality ecommerce photography builds trust by clearly showcasing your products, reducing uncertainty and minimizing returns. Research indicates that professional visuals can increase conversion rates by up to 30%, as they give shoppers confidence in their purchase decisions. Beyond driving sales, stunning high-quality product photos shape your brand’s identity—whether it’s sleek and modern, cozy and artisanal, or bold and vibrant. They create an emotional connection, encouraging customers to click “Add to Cart” and return for more.
In a crowded market, great product photography sets you apart. Blurry or poorly lit images can make your business seem unprofessional, while crisp, well-composed visuals signal quality and care. Pairing stunning visuals with effective marketing strategies amplifies your success—learn how in our guide to ecommerce marketing. Whether you’re selling handmade jewelry, tech gadgets, or clothing, investing in ecommerce photography is a proven way to boost sales and build customer loyalty.
Types of Ecommerce Product Photography
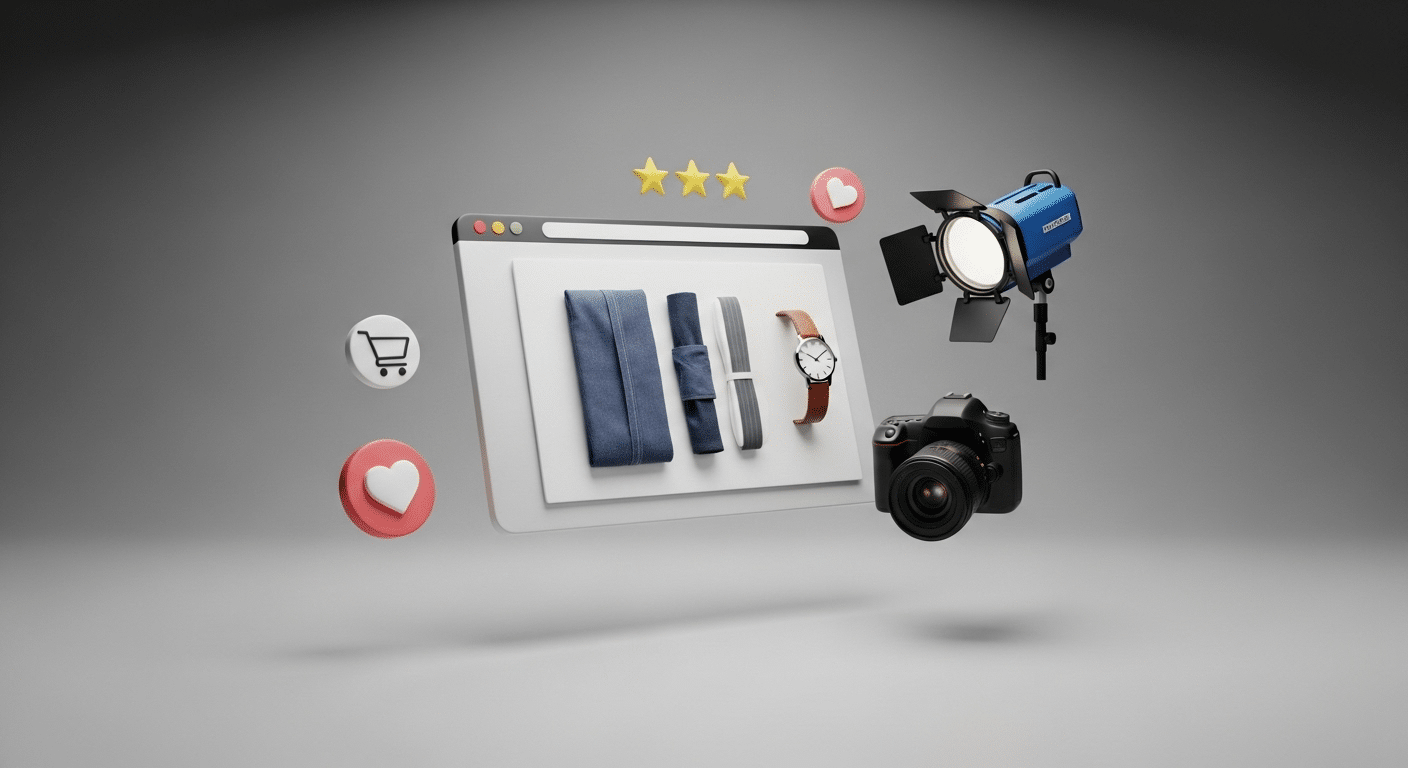
Ecommerce photography comes in various styles, each serving a unique purpose in showcasing your products. Understanding these types helps you choose the right approach for your online store.
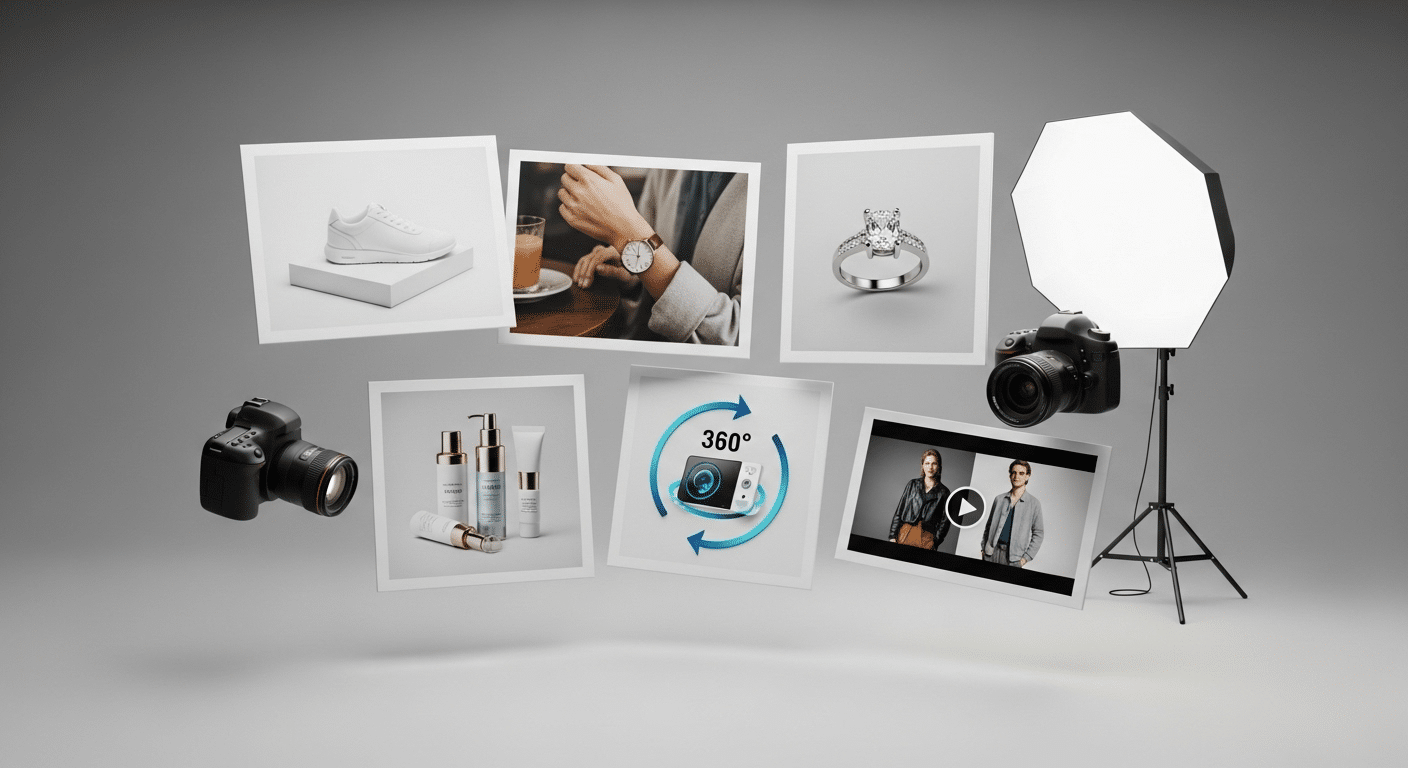
- White Background Photography: The classic choice for product listings, white background photography creates a clean, distraction-free look. It’s ideal for catalog images, ensuring your product images stand out. Use seamless white paper or a lightbox for consistent results.
- Lifestyle Photography: These images show products in real-world settings—like a watch on a wrist during a coffee date or a backpack on a hiker. Lifestyle photography creates an emotional connection, perfect for social media and homepage banners.
- Close-Up Photography: Highlight intricate details, such as the stitching on a leather bag or the sparkle of a gemstone. Macro lenses are key for capturing fine details, especially for jewelry or small accessories.
- Group Photography: Showcase related products together, like a skincare set or a collection of kitchen tools. Group shots encourage upselling by showing complementary items in one product image.
- 360° Photography: Allow customers to rotate and explore products from every angle. This interactive format reduces returns by setting clear expectations and is ideal for high-value items like electronics.
- Video Photography: Short product videos (30-60 seconds) show items in action, such as a product demo or a model wearing clothing. Video photography boosts engagement and conversions on product pages.
Choose the type of product photography that aligns with your brand and product needs. Mixing styles—like white background for product listings and lifestyle photography for social media—creates a versatile visual strategy for your online store.
Choosing Equipment for Professional Product Photography
Cameras for High-Quality Product Images
- DSLR Cameras: Invest in a DSLR like the Canon EOS Rebel T7 or Nikon D3500 (starting at $400) for full control over settings such as aperture and ISO, ideal for high-resolution shots.
- Smartphone Cameras: For budget-friendly options, use modern smartphones like the iPhone 14 or Samsung Galaxy S23, which feature AI-enhanced cameras delivering impressive results.
Tripods and Lenses for Stability and Detail
- Tripod: A sturdy tripod ($20-$50) is essential to eliminate shake, especially in low-light conditions, ensuring sharp product images.
- Prime Lens: A 50mm prime lens is versatile and suitable for most products, offering excellent clarity.
- Macro Lens: For capturing fine details in jewelry or electronics, a macro lens ($100-$200) is ideal, perfect for close-up photography.
Accessories to Enhance Your Setup
- Diffusers: Affordable diffusers ($10-$20) soften harsh lighting, creating even illumination for professional-looking photos.
- Reflectors: Reflectors ($15-$30) bounce light to fill shadows, enhancing the overall quality of your product images.
- Remote Shutter Release: A remote shutter release ($10) prevents camera shake during long exposures, ensuring crisp shots.
Storage Solutions for Product Images
- External Hard Drive or Cloud Service: Use an external hard drive or cloud storage to organize and back up high-resolution product images, keeping your digital assets secure.
Choose equipment that fits your budget and scales with your online store’s growth, ensuring your ecommerce photography remains professional as your business expands.
Setting Up Your Ecommerce Setup for Product Photography
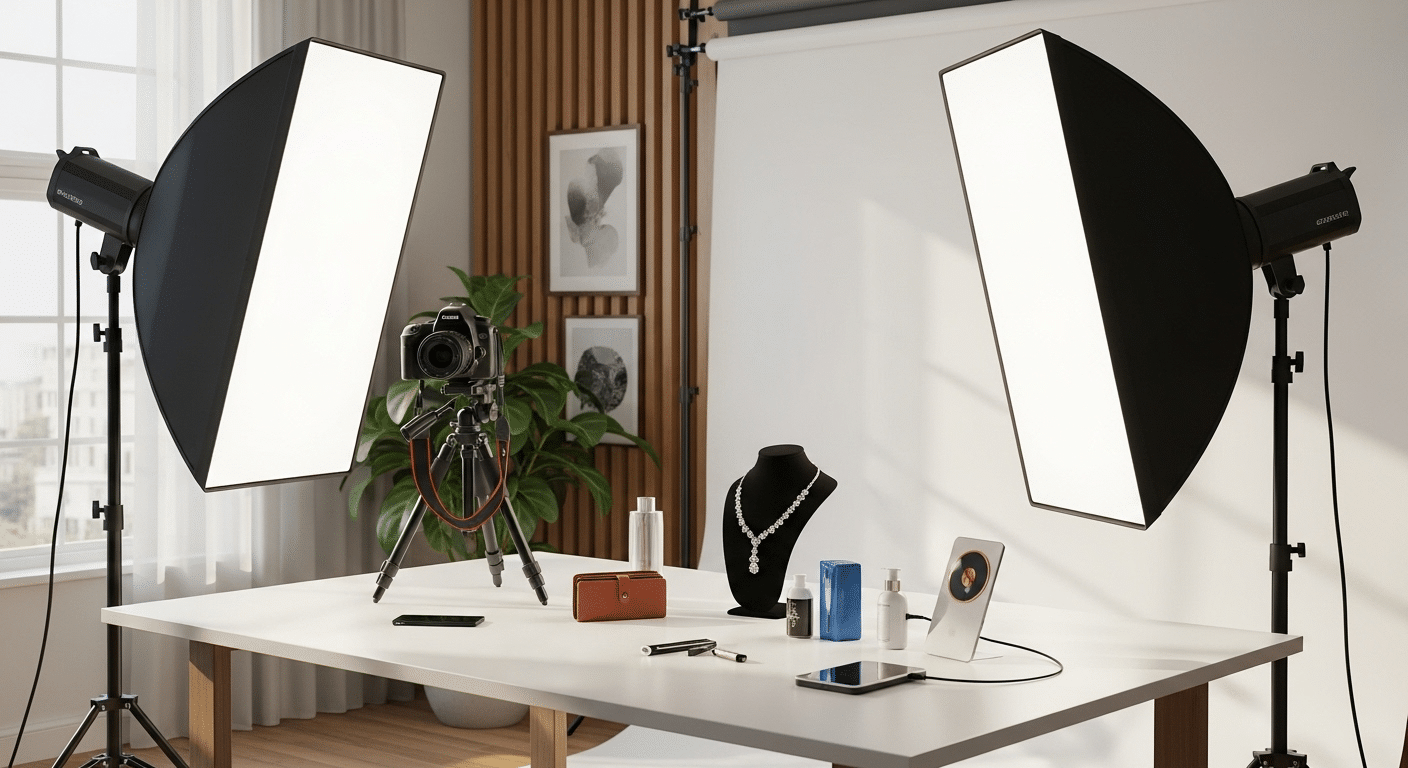
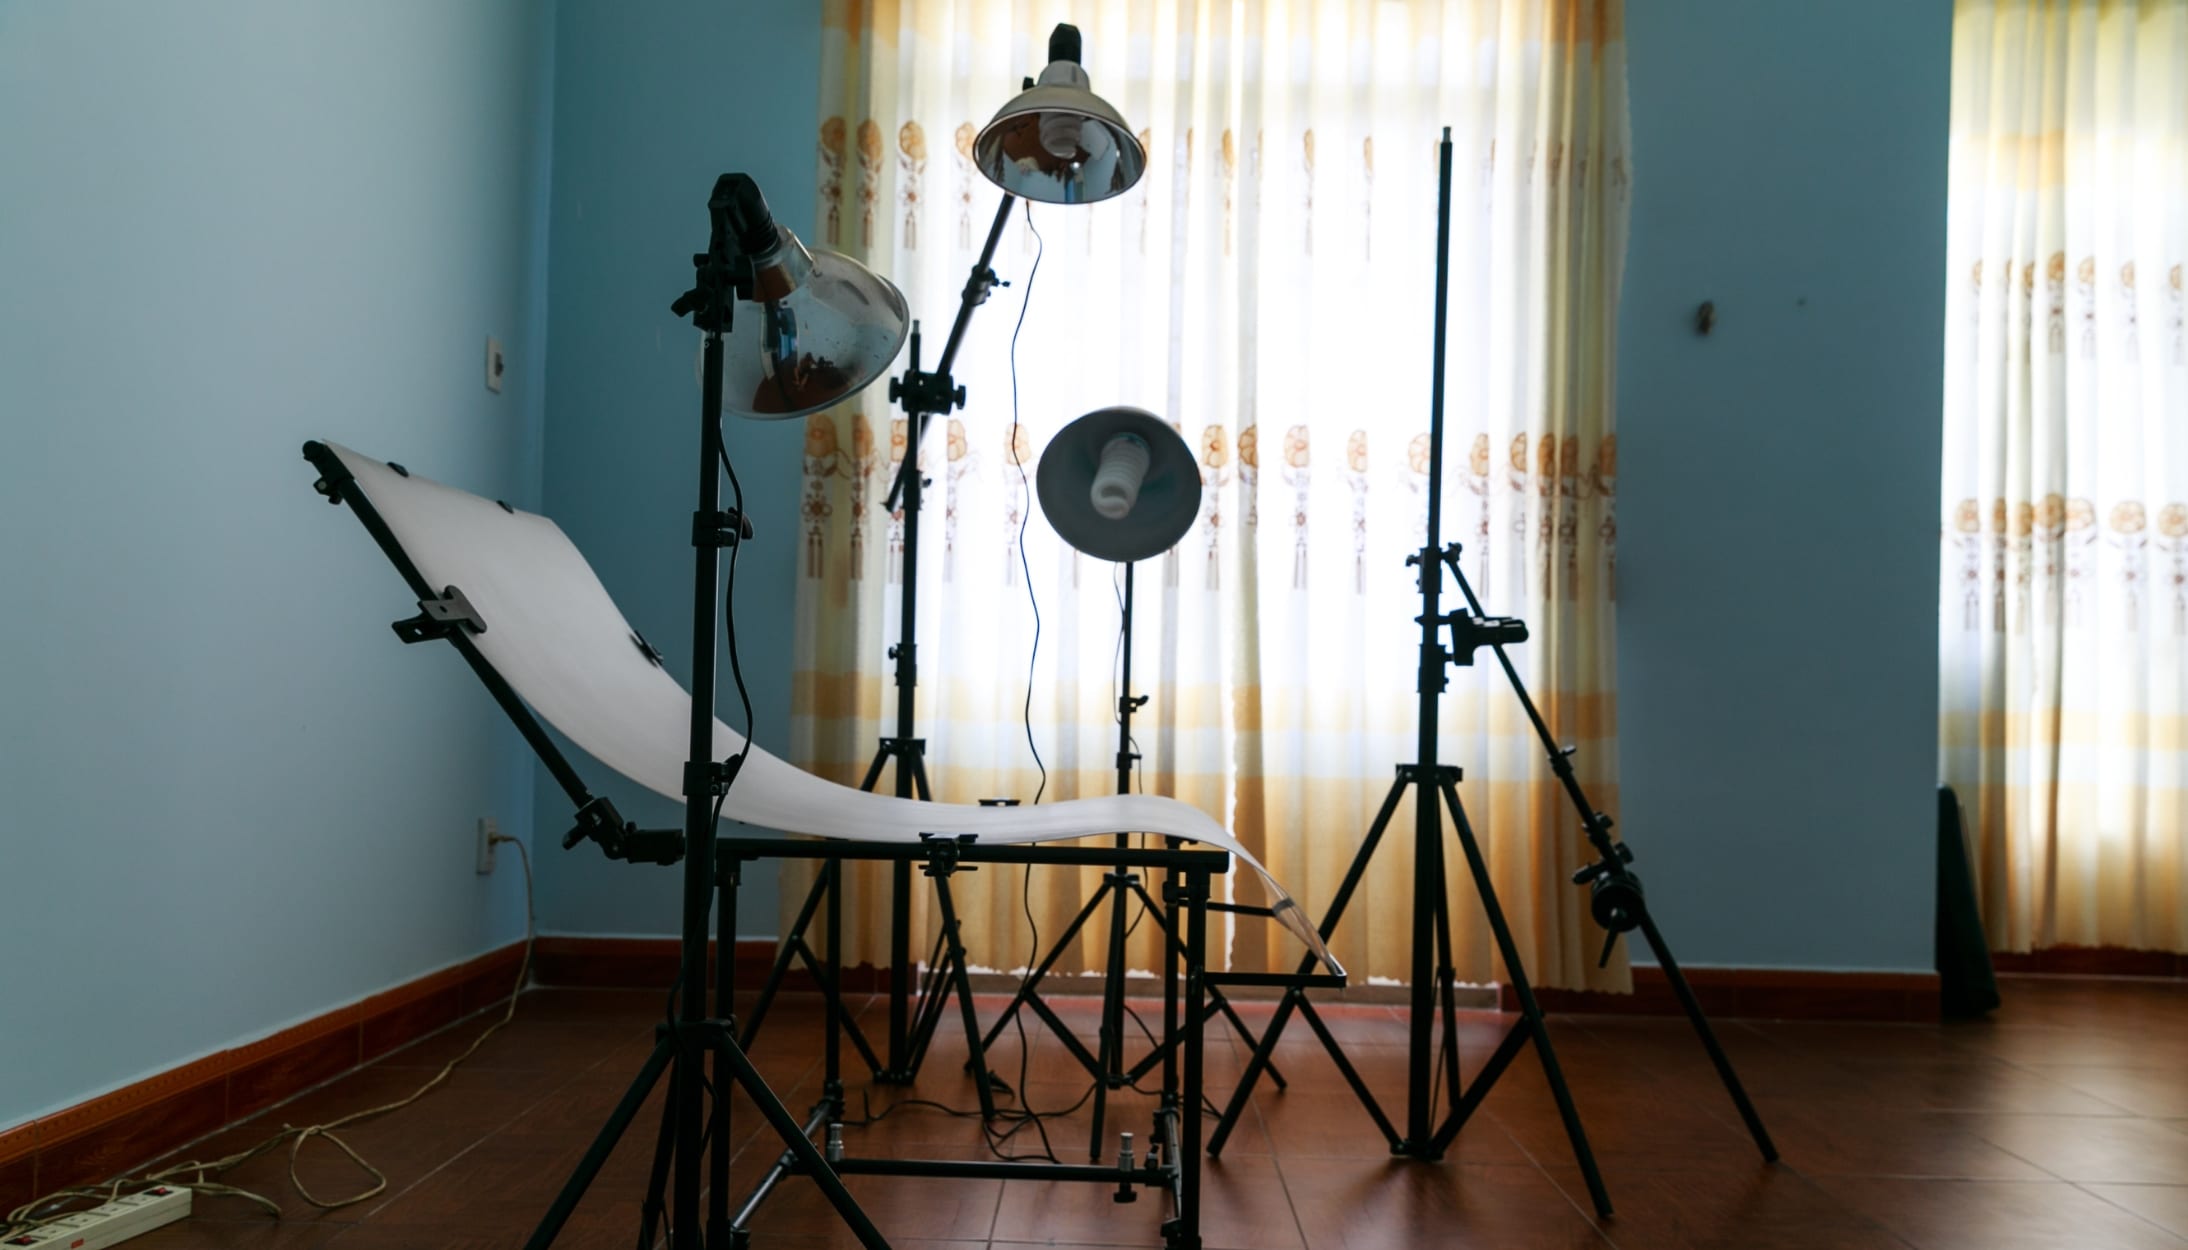
Setting up a product photography studio is easier than you might think, whether you’re working from a spare room or a corner of your office. Follow these steps to create a professional ecommerce setup for your ecommerce photography:
- Choose Your Space: Select a quiet, well-lit area with access to natural light or space for artificial lighting. A table near a window works for beginners, while a dedicated room allows for larger setups.
- Set Up Your Backdrop: Use seamless white paper ($10-$20) or a portable lightbox ($15-$50) for a clean, white background. For lifestyle photography, consider textured backdrops like wood, marble, or fabric to match your brand’s aesthetic.
- Position Your Camera: Place your camera on a tripod, ensuring it’s level with your product. Use a tape measure to maintain consistent distance (e.g., 3-5 feet) for uniform shots across your catalog.
- Arrange Lighting: For natural light, shoot during early morning or late afternoon to avoid harsh shadows. For artificial lighting, position two softboxes or clamp lights ($10 each) at 45-degree angles to your product. Add a reflector to fill in shadows.
- Test and Adjust: Take test shots to check for shadows, reflections, or uneven lighting. Adjust your ecommerce setup as needed, ensuring your product image is well-lit and in focus.
A well-organized ecommerce setup streamlines your workflow, saving time and ensuring consistent product images. As your online store grows, consider investing in a permanent setup with modular backdrops and lighting to handle larger catalogs efficiently.
Mastering Lighting for High-Quality Product Photos
Lighting is the cornerstone of ecommerce photography. It highlights your product’s features, enhances colors, and creates a professional look. Natural light is a budget-friendly photography option—set up near a large window during early morning or late afternoon for soft, even illumination. Use sheer curtains ($5-$10) to diffuse harsh sunlight. For more control, affordable lighting gear like softboxes ($30-$50) or ring lights ($20-$100) provides consistent results. Position lights at 45-degree angles to your product for balanced illumination, and use diffusers to soften beams.
DIY lighting hacks can save money. White poster boards ($5) or foam boards reflect light to fill shadows, while aluminum foil creates a stronger bounce for reflective products. Consistency is key—use the same lighting setup for all shots to create a cohesive aesthetic across your online store. Experiment with angles to highlight textures (e.g., the grain of a wooden product) or features (e.g., a gadget’s sleek lines). Mastering lighting takes practice, but it’s a skill that transforms your high-quality product photos into sales-driving assets.
Creating Perfect Backgrounds for Product Photography
A clean background ensures your products remain the star of the show. White background product photography is a staple for ecommerce, creating a professional, distraction-free look ideal for product listings. Seamless white paper ($10-$20) or a portable lightbox ($15-$50) makes this easy. For lifestyle photography, textured backgrounds like wood, marble, or linen add personality—think a rustic wooden backdrop for handmade ceramics or a sleek black one for tech gadgets. Ensure backgrounds align with your brand’s aesthetic without overwhelming the product.
In post-production, tools like Photoshop, Canva, or free alternatives like Photopea can remove unwanted elements for a polished finish. For example, the magic wand tool in Photoshop can quickly isolate your product for a clean white background. Maintain consistent backgrounds across similar products to tie your online store’s catalog together, building brand recognition and customer trust.
Optimizing Camera Settings for Sharp Product Images
Sharp, clear product images start with optimized camera settings. For DSLRs, use a low ISO (100-200) to minimize grain, a wide aperture (f/8-f/11) for depth of field, and a fast shutter speed (1/125 or higher) to freeze motion. Always use a tripod to eliminate shake, especially in low-lighting conditions. If you’re new to product photography, automatic modes on DSLRs or smartphones can simplify the process while delivering quality results. For smartphones, tap to focus on the product and adjust exposure manually—apps like ProCamera or Lightroom Mobile offer these controls for precision.
Test camera settings for different products. A higher aperture (f/16) keeps intricate items like jewelry in sharp focus, while a lower aperture (f/4) creates a soft blur for lifestyle photography shots. Consistent settings across your product images ensure a unified look for your online store, making it easier for customers to browse and buy with confidence.
Mastering Smartphone Photography for Ecommerce
Smartphone photography is a game-changer for ecommerce sellers on a budget. Modern smartphones, like the iPhone 14 or Samsung Galaxy S23, feature advanced sensors and AI-enhanced cameras that rival DSLRs for product photography. Use a tripod ($15-$30) for stability and shoot in natural light near a window for vibrant, true-to-life colors. Clean your phone’s lens to avoid smudges, and use gridlines (available in most camera apps) to align shots perfectly. Apps like VSCO or Lightroom Mobile provide manual controls for focus, exposure, and white balance, giving you creative flexibility.
For small products like jewelry or accessories, clip-on macro lenses ($10-$20) capture stunning close-up details. Experiment with angles—top-down for flat lays, 45-degree for depth—to showcase your products’ best features. Smartphone photography is accessible, cost-effective, and perfect for creating high-quality product images that drive sales in your online store.
Budget-Friendly Photography DIY Product Photography Studios
Building a DIY product photography studio is simple and budget-friendly photography, perfect for small business owners. Start with a sturdy table and seamless white paper ($10-$15) for a clean backdrop. Clamp lights with daylight bulbs ($10 each) provide affordable, consistent lighting. For small products, create a mini lightbox by lining a cardboard box with white fabric or paper—cut out the sides and cover with tissue paper to diffuse light. Foam boards or mirrors ($5-$10) can bounce light to eliminate shadows, giving your product images a professional polish.
Organize your setup for efficiency: keep your camera, lights, and backgrounds in one place to streamline shooting. For example, a $20 investment in basic supplies can yield professional results for everything from candles to clothing. As your online store grows, upgrade your DIY product photography studio with modular backdrops or additional lighting to handle larger catalogs without breaking the bank.

Advanced Photo Editing for Polished Ecommerce Images
Photo editing elevates your product images from good to exceptional. Professional tools like Adobe Photoshop or Lightroom offer powerful features for color correction, background removal, and retouching. For budget-conscious sellers, free alternatives like GIMP, Photopea, or Canva provide robust photo editing capabilities. Focus on key edits: adjust brightness and contrast to make products pop, correct colors to match the real item, and remove imperfections like dust or scratches. For white-background shots, use the magic wand tool or AI-powered background removers to create a clean look.
Batch photo editing saves time for large catalogs—use presets in Lightroom or actions in Photoshop to apply consistent edits across multiple product images. Avoid over-editing, which can make products look unrealistic (e.g., overly saturated colors or unnatural shadows). Polished, consistent ecommerce images create a cohesive aesthetic for your online store, building trust and encouraging purchases.
Visual Storytelling in Product Photography
Visual storytelling brings your products to life, helping customers envision how they fit into their lives. Lifestyle photography shots—like a watch on a wrist during a coffee date, a backpack on a hiker, or a candle on a cozy desk—create an emotional connection. Experiment with angles: top-down shots for flat lays of accessories, 45-degree angles for depth in clothing, or close-ups for intricate details like stitching or textures. Props like plants, books, or coffee mugs can enhance the story, but keep them minimal to avoid distraction.
Align your visuals with your brand’s aesthetic—minimalist for sleek tech, rustic for handmade goods, or vibrant for fashion. Consistent visual storytelling in your product photography strengthens your brand identity, making your online store memorable and engaging. Use these visuals across product pages, social media, and email campaigns for a unified customer experience.
Product Photography Tips for Clothing, Jewelry, and More
Different products require tailored approaches to shine in product photography. For clothing, use mannequins or models to show fit, drape, and movement. The “ghost mannequin” technique—removing the mannequin in post-production—creates a clean, professional look. Lay-flat product photography works well for casual clothing like t-shirts. Jewelry demands precision: use macro lenses to capture sparkling details and soft lighting to avoid harsh reflections. Place jewelry on neutral or contrasting backgrounds, like velvet for gemstones, to highlight their brilliance.
Food product photography thrives on vibrant colors and textures—think close-ups of a dripping chocolate cake or fresh produce with water droplets. Electronics benefit from angled shots that highlight features like screens, buttons, or ports. For example, a smartphone might need a close-up of its camera module. Tailor your approach to each product’s unique features, ensuring your online store showcases every item effectively. Pair great visuals with compelling descriptions—learn how in our guide to high-converting product descriptions to optimize your product pages and boost sales.

Using Video Photography and 360° Photography for Ecommerce
Video photography and 360° photography are transforming ecommerce by offering immersive experiences. Short product videos (30-60 seconds) show items in action—a spinning blender, a twirling dress, or a gadget’s features in use, including a compelling product demo. Use a smartphone or DSLR with a tripod for smooth footage, and edit with free tools like DaVinci Resolve or iMovie for a professional touch. Keep videos concise, highlighting key features, and add text overlays for clarity (e.g., “Waterproof Design”).
360° photography lets customers explore products from every angle, reducing returns by setting clear expectations. Affordable turntables ($20-$50) make 360° photography shots easy—place your product on the turntable, take multiple images, and stitch them together using software like Sirv or WebRotate 360. Incorporate video photography and 360° photography on your product pages to boost engagement and conversions. Keep file sizes small to maintain fast load times, ensuring an interactive and seamless experience for your online store’s customers.
Image Optimization of Product Images for Ecommerce Platforms
Optimized product images ensure your online store performs at its best across all devices. Aim for high-resolution images (2048x2048px is a safe standard) to look sharp on smartphones, tablets, and desktops. Compress files using tools like TinyPNG or Squoosh to reduce load times without sacrificing quality—faster pages improve SEO and user experience. Use descriptive file names (e.g., “blue-ceramic-mug-side.jpg”) and alt text (e.g., “Handmade blue ceramic mug”) to boost search rankings and accessibility.
Check your ecommerce platform’s image requirements—some prefer square images, others specific formats like JPEG or PNG. Test images on mobile and desktop to ensure they load correctly and display well. Image optimization enhances your online store’s aesthetic, improves discoverability, and keeps customers engaged, leading to higher sales.
Avoiding Common Product Photography Mistakes
Even small mistakes can undermine your product photography efforts. Avoid blurry images by always using a tripod and checking focus. Prevent inconsistent lighting by sticking to one setup for all shots to maintain a cohesive look. Cluttered backgrounds distract from your product—opt for clean, neutral backdrops or edit them out in post-production. Over-photo editing can make products look unrealistic—avoid excessive filters, unnatural color tweaks, or heavy retouching that misrepresents items.
Another common pitfall is neglecting mobile optimization—test how your product images look on smaller screens to ensure clarity. Ensure your product photography aligns with your brand’s style, using consistent colors, fonts, and aesthetics to build trust. By avoiding these mistakes, your online store will present a professional, trustworthy image that encourages customers to buy with confidence.
Scaling Your Ecommerce Photography for Growth
As your online store grows, your product photography process needs to scale efficiently. Batch shooting—photographing multiple products in one session—saves time for large catalogs. Create a shot list to stay organized, grouping products by similar lighting or background needs. For high-value items, consider outsourcing to professional photographers to elevate quality, especially for hero images on your homepage or ad campaigns. Automation tools like Adobe Lightroom’s batch photo editing or AI-powered software like Luminar Neo can streamline post-production for hundreds of product images.
Invest in reusable setups, like a permanent lightbox or modular backgrounds, to maintain consistency. For example, a foldable lightbox ($30-$50) can be stored easily and reused for consistent shots. A well-organized workflow ensures your ecommerce photography keeps pace with your online store’s growth, delivering stunning visuals without the stress.
Measuring the Impact of Product Photography on Sales
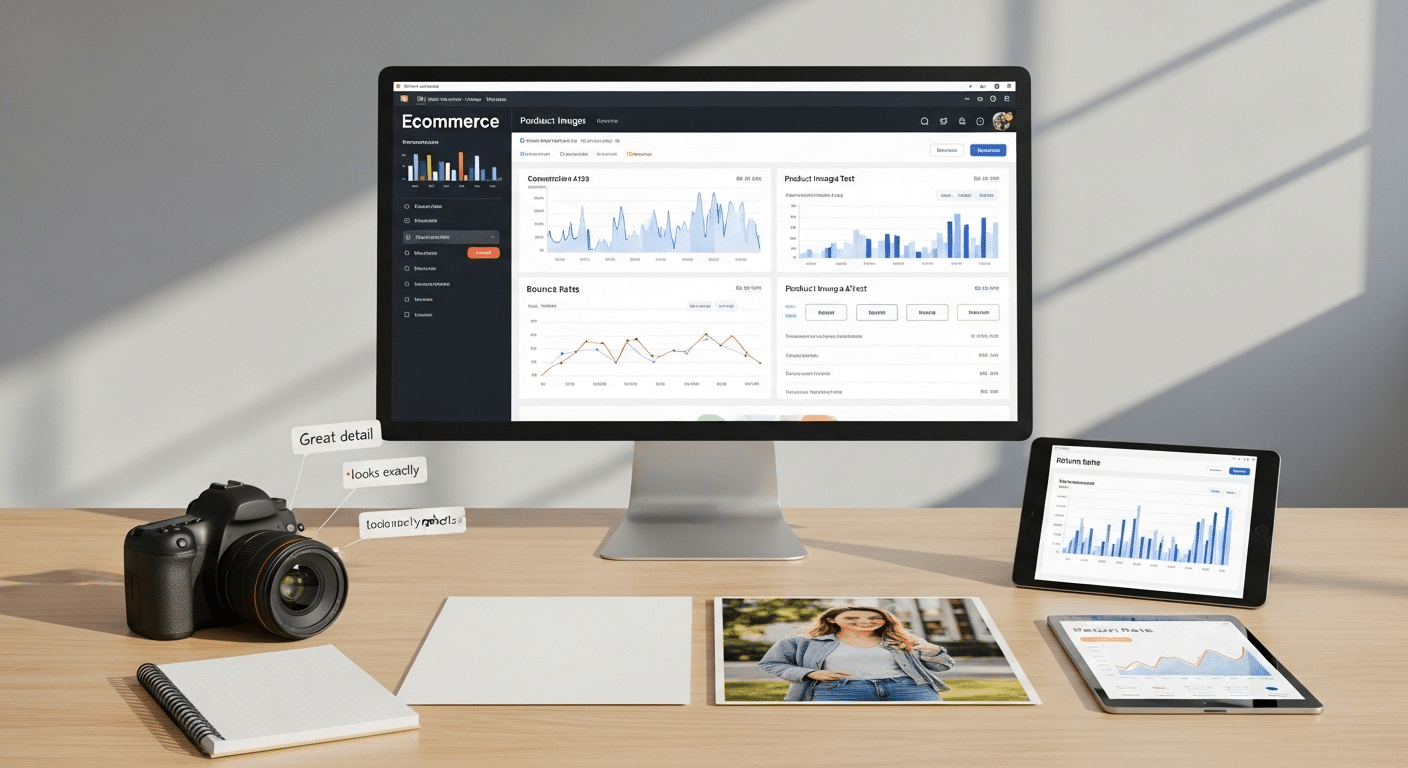
Stunning product images drive sales, but measuring their impact helps you refine your strategy. Use analytics tools like Google Analytics or platform-specific dashboards to track metrics like conversion rates, bounce rates, and time spent on product pages. A/B test different product images—for example, a white-background shot vs. a lifestyle photography image—to see which drives more clicks. Customer feedback, such as reviews mentioning visuals, can reveal what resonates.Follow basics of ecommerce metrics and increase your sales like a pro.
Monitor return rates—high-quality product images that accurately represent items can reduce returns by setting clear expectations. Regularly review your analytics to identify trends, optimize your ecommerce photography, and ensure your online store thrives in a competitive market.
Conclusion: Elevate Your Online Store with Ecommerce Photography
Mastering ecommerce photography is a game-changer for your online store. From selecting the right equipment and setting up an effective ecommerce setup to mastering lighting, photo editing, and leveraging video photography or 360° photography, this guide equips you with the tools to create stunning high-quality product photos.
Whether you’re starting with budget-friendly photography using smartphone photography or scaling with professional gear, consistent product images build trust, boost conversions, and strengthen your brand identity.
Avoid common pitfalls, optimize your product pages with image optimization, and measure the impact with ecommerce metrics to refine your strategy. Start applying these tips today to transform your product photography into a powerful sales driver—your customers and business will thank you!
Read More
- Follow this Complete SEO Checklist to Boost Your eCommerce Store
- Learn How to Build an SEO-Optimized eCommerce Website
- Enhance Your SEO with Smart Social Media Marketing Strategies
- Discover Proven Ways to Increase Your eCommerce Sales
- Master the Go-to-Market Strategy for Your eCommerce Success
- Step-by-Step Guide to Start Your Own eCommerce Business
- Find the Best eCommerce Platforms for Your Business
- Understand the Dropshipping Business Model and Its Benefits
- Explore Different eCommerce Business Models for Success
- Why a Good Website Title Is Crucial for SEO
Ecommerce Photography FAQs
1. What Equipment Do I Need for Ecommerce Product Photography?
You don’t need expensive gear to start. For ecommerce photography, a DSLR camera like the Canon EOS Rebel T7 ($400) or a smartphone photography setup with an iPhone 14 works well. Add a tripod ($20-$50), a 50mm prime lens, and a macro lens ($100-$200) for details. Accessories like diffusers ($10-$20) and reflectors ($15-$30) enhance lighting. Choose based on your budget and scale with your online store’s growth. Check our product photography equipment section for more details!
2. How Can I Improve My Product Images on a Budget?
Budget-friendly photography is achievable with smartphone photography and DIY setups. Use natural lighting near a window or affordable clamp lights ($10 each) with a homemade lightbox. Optimize camera settings for sharpness, and use free photo editing tools like Canva or Photopea to polish product images. Focus on clean backgrounds and consistent styles to boost your online store’s appeal without breaking the bank—see our DIY studio tips for more!
3. Why Is Product Photography Important for My Online Store?
Product photography is crucial as it’s the first impression for your online store. High-quality product images build trust, reduce returns, and can increase conversion rates by up to 30%. They shape your brand identity and enhance product pages with visual storytelling, video photography, or 360° photography. Investing in great visuals, as outlined in our guide, drives sales and keeps customers coming back!

